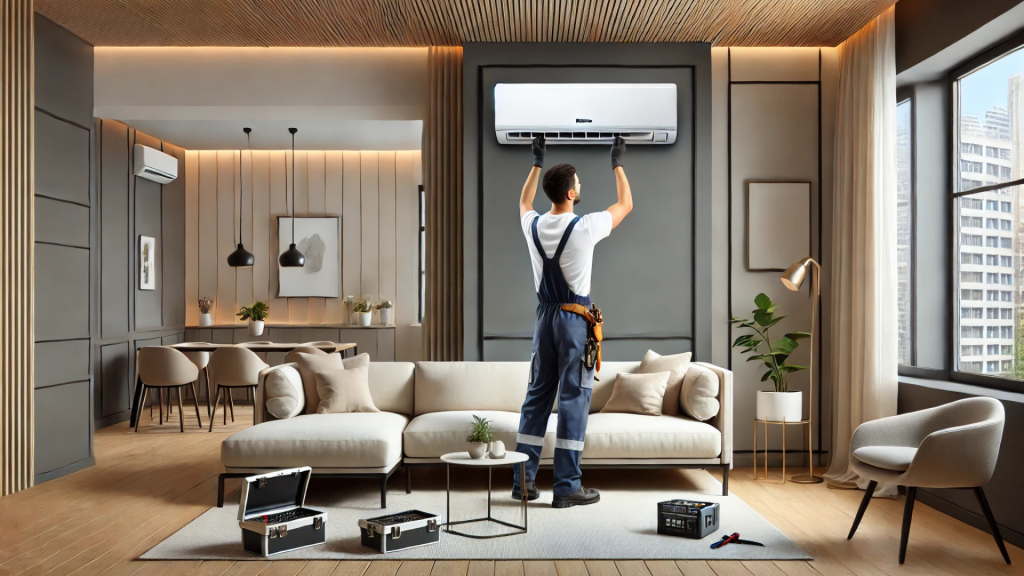
Complete Guide for Midea Air Conditioner Installation
Midea Air Conditioner: An Overview
Midea is one of the leading global innovative brands for home appliances and one of the largest manufacturers in air conditioning solutions. Midea weaves in large energy efficiency and advanced technology to comfort your homes and offices with smart IoT air conditioners. But installing them correctly means the difference between floored roots and tulips that pop up year after year. This guide will show you how and make the installation process so easy, that you can enjoy your Midea air conditioner!
Reasons to Put Midea Air Conditioning in Your Home
Why Choose Midea?
Midea air conditioners offer many benefits for owners beyond just cooling:
- Energy Saving: Most of the Midea models come outfitted with inverter technology, which cuts energy consumption and leads to a reduced electricity bill.
- Smart Functionality: Certain models will be able to connect to your Wi-Fi network and be used to control your air conditioner through a smartphone app, thus allowing you to better manage the climate in your home with ease.
- Whisper Quiet Operation: Midea brand units operate quietly so you can get a good night’s sleep.
These advantages contribute to making Midea a go-to option for high-quality, cost-effective air-conditioning solutions.
Preparing for Installation
Tools and Materials Needed
Gather these tools and materials before starting with the installation process:
Tools:
- Flat screwdriver, Phillips screwdriver
- Wrench set
- Level
- Drill and drill bits
- Tape measure
- Vacuum pump
Materials:
- Copper tubing
- Electrical wiring
- PVC drainage pipe
- Mounting brackets
- Insulation tape
Getting the tools and materials ready will ease up the installation process.
Selecting the Right Location
Locating the indoor unit and outdoor unit properly is essential for optimum functioning. Take into account the following elements:
Indoor Unit:
- Position it close to the center of the area so that the airflow can evenly distribute cool air.
- Do not expose directly to sunlight or heater areas → It may affect performance.
Outdoor Unit:
- Set it up on a firm surface with enough gap for airflow.
- Make sure that it is away from plants or walls, which tend to obstruct the ventilating air.
Step By Step Setup Instructions
Setting up the Indoor Unit
Mounting the Bracket:
- Hold a level and mark where the mounting bracket should be on the wall.
- Drill holes in and screw the bracket in place.
Boring out the Hole for Refrigerant Lines:
- Bore a hole (usually about 3 inches wide) through the wall to accommodate refrigerant lines and drainage.
Linking Up the Refrigerant Circulation Lines:
- Connect the copper tube to the indoor unit which is insulated from outside to prevent sweating.
Putting In The Outdoor Device
Placing the Unit:
- Ensure that the outdoor unit is straight and level with a level tool. Set it on a concrete pad or bracket.
Connecting to Power Supply:
- Connect the outdoor unit power supply according to local electrical codes.
Securing the Unit:
- It is important that you bolt the outdoor unit down to its mounting pad so it cannot be moved.
Electrical and Refrigerant Connection
Electrical Connection:
- Wire the indoor and outdoor units by using the wiring diagram provided. Please make sure that all the connections are tightened and insulated.
Testing Refrigerant Levels:
- Before charging the lines with refrigerant, evacuate them using a vacuum pump. Use a soapy water solution to detect leaks.
Mistakes in Installation Design
- Failing to Pay Attention to Local Regulations and Codes: Check your local building codes before installing. Failure to follow these guidelines can result in fines or expensive reworks down the road.
- Poorly Sealing Ductwork: Improper sealing of ductwork can cause energy loss and reduced efficiency. ALL of the parts must fit nice and snug, with NO leaks.
How to Maintain Your Midea Air Conditioner
Regular Cleaning and Filters
- Change or clean filters every 1 to 3 months in accordance with your unit’s needs to prevent a loss of efficiency. Dust and debris can also block airflow, affecting cooling ability.
- Schedule professional inspections at least once per year to guarantee the efficiency of your AC system and prevent future problems from escalating.
Questions And Answers (FAQ)
Where to install a Midea air conditioner?
- Ideally, for the best location for your indoor unit, it should be central in your home and possibly away from furniture or other items that could block airflow. A well-ventilated area protected from direct sunlight is ideal for the outdoor location as well.
How to install a Midea air conditioner on your own?
- Although some people opt for the do-it-yourself route, going with a professional is preferable to ensure that your unit works correctly and adheres to local codes.
Complete Guide for Midea Air Conditioner Installation
Conclusion
In order to get the most efficient performance from your Midea air conditioner, you have to ensure that it is installed properly. This comprehensive guide walks you through all the steps, ensuring your unit is set up properly for comfort as well as peace of mind for many years to come. Reap the rewards of your new air conditioning unit and keep up with maintenance for long-lasting performance!

